How To Transform Beads Into A Business Venture
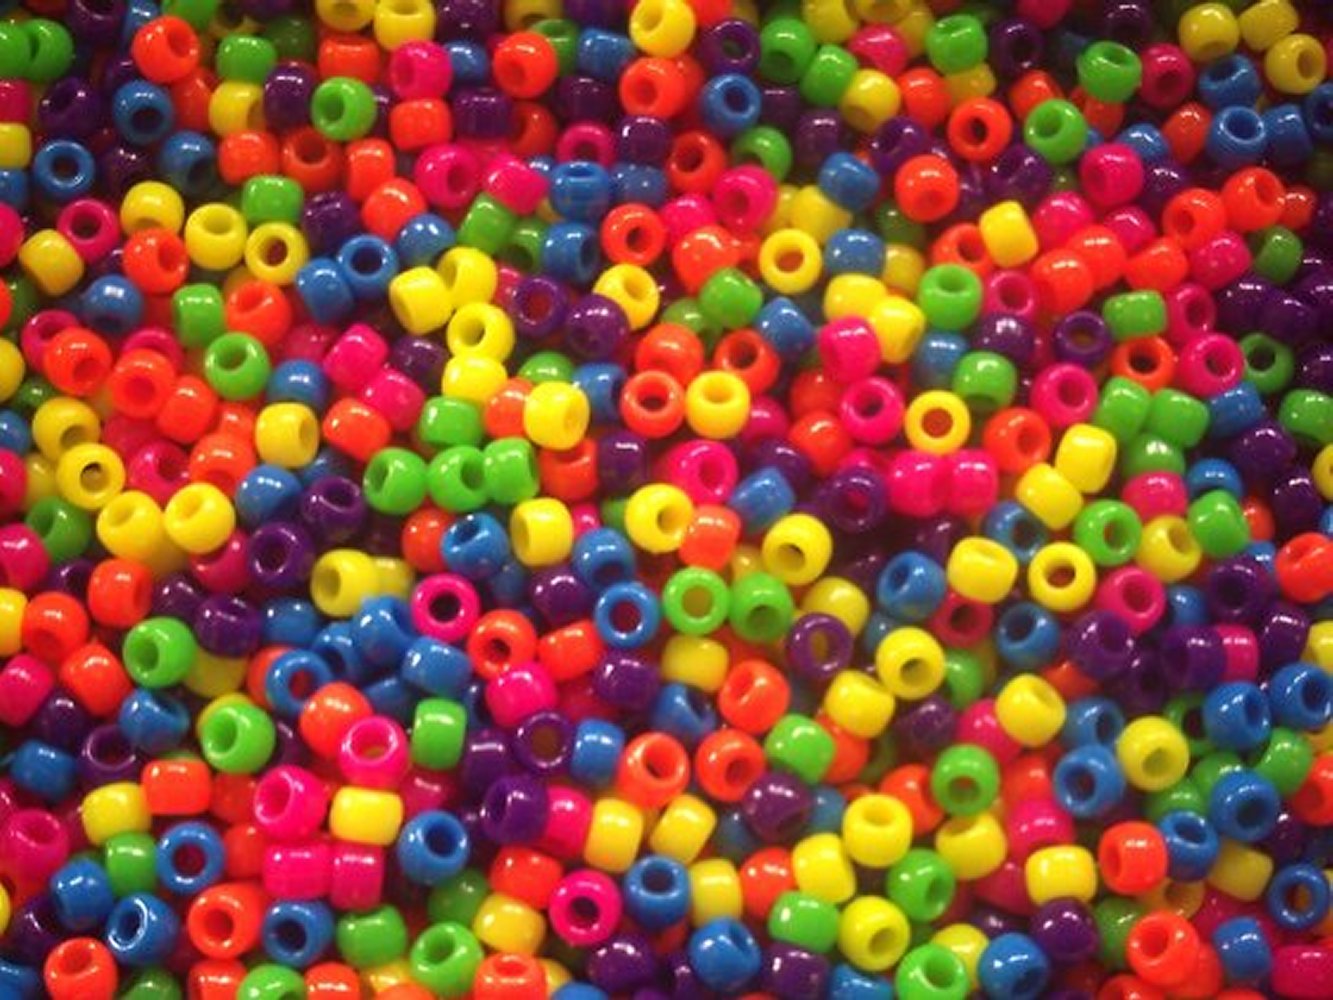
Beads are small, decorative objects that come in a variety of shapes and sizes of materials such as glasses, stones, bones, shells, plastics, wood or pearls.
They range in sizes and have small holes drilled for threading or stringing.
They can be used to make jewelries such as necklaces, bracelets, earrings and anklets.
Most Africans women wear it because, in their culture, it symbolizes confidence and sexuality.
 Most women inherit it from their mothers because their mothers put them around their waist so they grow to like it. Usually, it worn loosely on the hips of the female child or adult and when it becomes tight, it shifts from the hips to the belly. This is when our mothers can assume that their daughter or they themselves are putting on weight.
In West Africa, waist beads have several names such as Jel-Jelli, Jigeda, Giri-Giri, Djalay Djalay, Toma or Yomba and they are always worn under clothing.
Due to the increasingly love for waist beads, people now buy the beads, string and then sell them at exorbitant prices.

Day in day out, more money is generated from selling waist beads, because presently, there are fashionable beads on the market.
In this edition of Trending on BizzAfrica, we are going to learn how to make waist beads. As young adults, we can venture into beads making, whether or not we are employed, or even if we are in school.
This will help us generate extra income and even decrease the rate of unemployment in the country.
Follow these steps to create lovely beads:
1. Place the beads that you want to use on a plain white cloth or towel. This will help you locate and catch rogue beads.
Follow your heart and create your own pattern, that is, if you want a pattern of certain colours mixed up.
2. Double-up your thread as many times as you wish, provided they can easily slip through the holes in the beads.
3. Measure it out around your waist, leaving plenty of extra for loss of length in reinforcing, looping, etc. Make sure you leave plenty on the ends to tie.
4. Using a needle, pick up the beads and arrange them using your pattern. Hold the beads for the given pattern in your hand, and string from your hand. Don’t worry about mixing colors together.
This is much easier than trying to strand bead-by-bead. For extra small seed beads, use a super thin beading needle.
5. You can use a clasp, or not. If you choose to, add the clasp before you begin. Reinforce after completion with a drop of superglue or clear nail polish.
After these steps, one can put it around her waist. Also, those doing it for commercial purposes can sell their final products at the markets and fashion shops.
 Why don’t you take the steps of creating a business for yourself or making extra money by venturing into beads making?
